Ich habe mich in meinem Fall für ein Midi Server Gehäuseentschieden von Bequite entschieden...
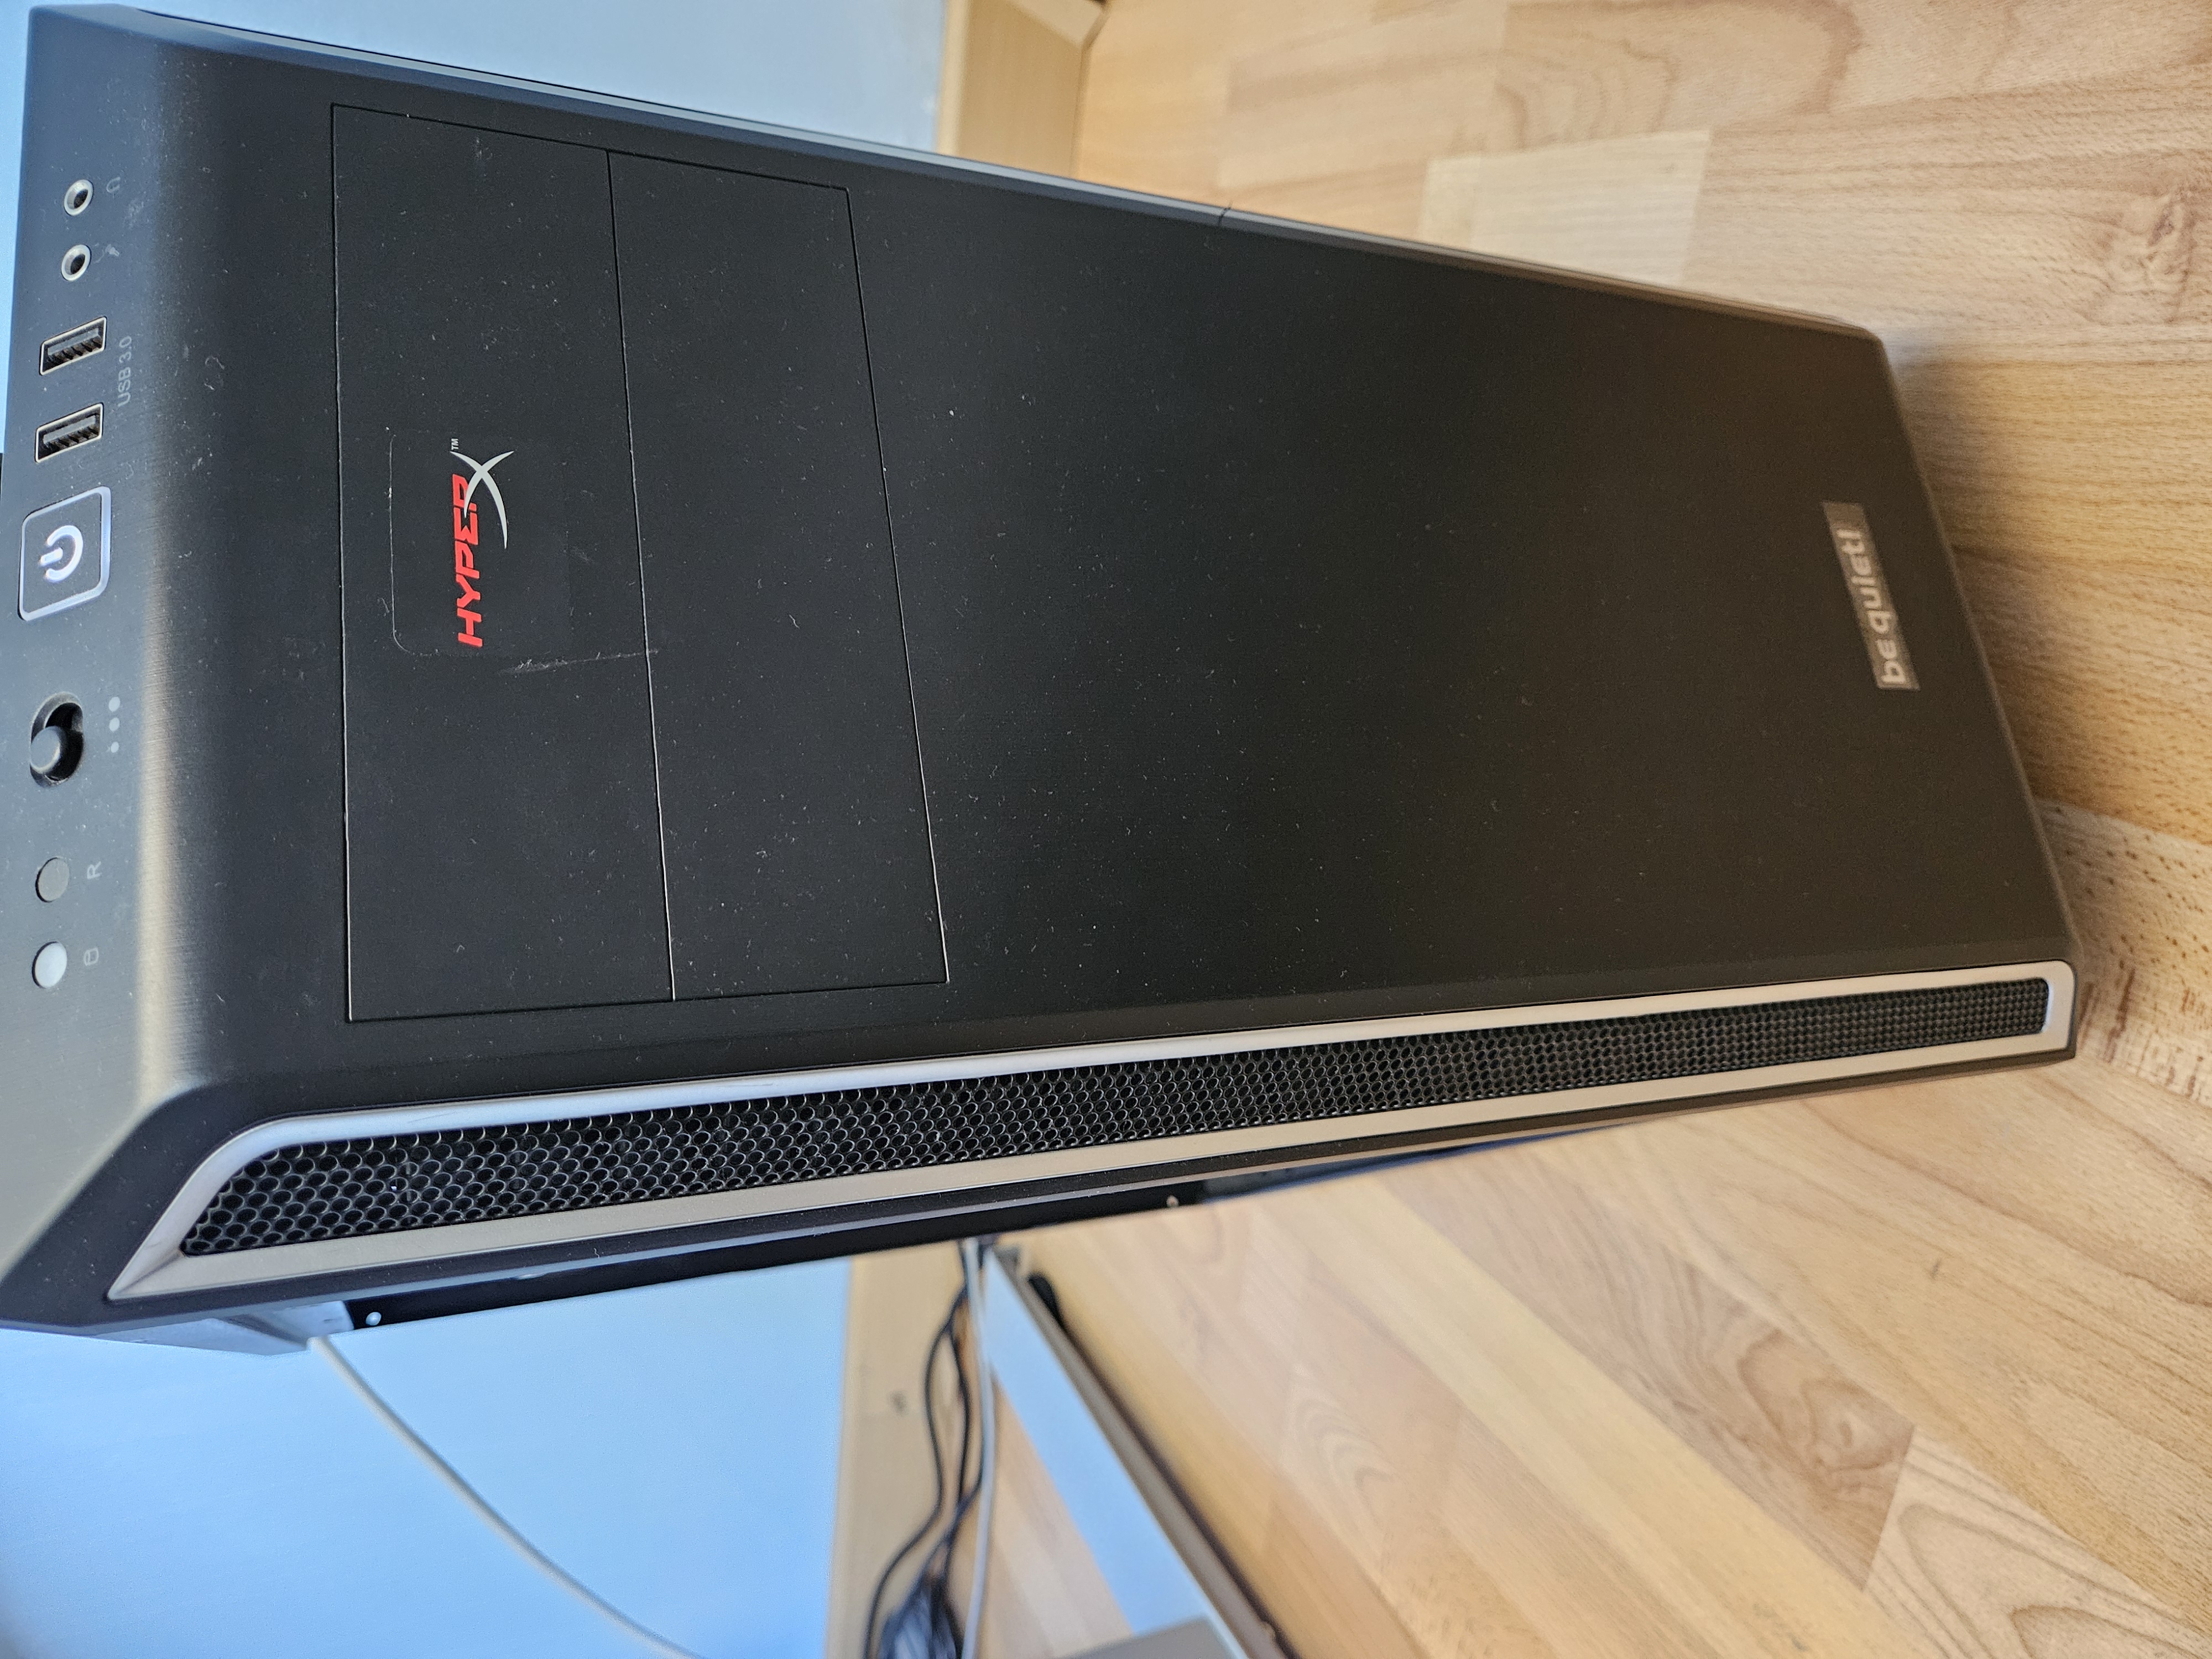
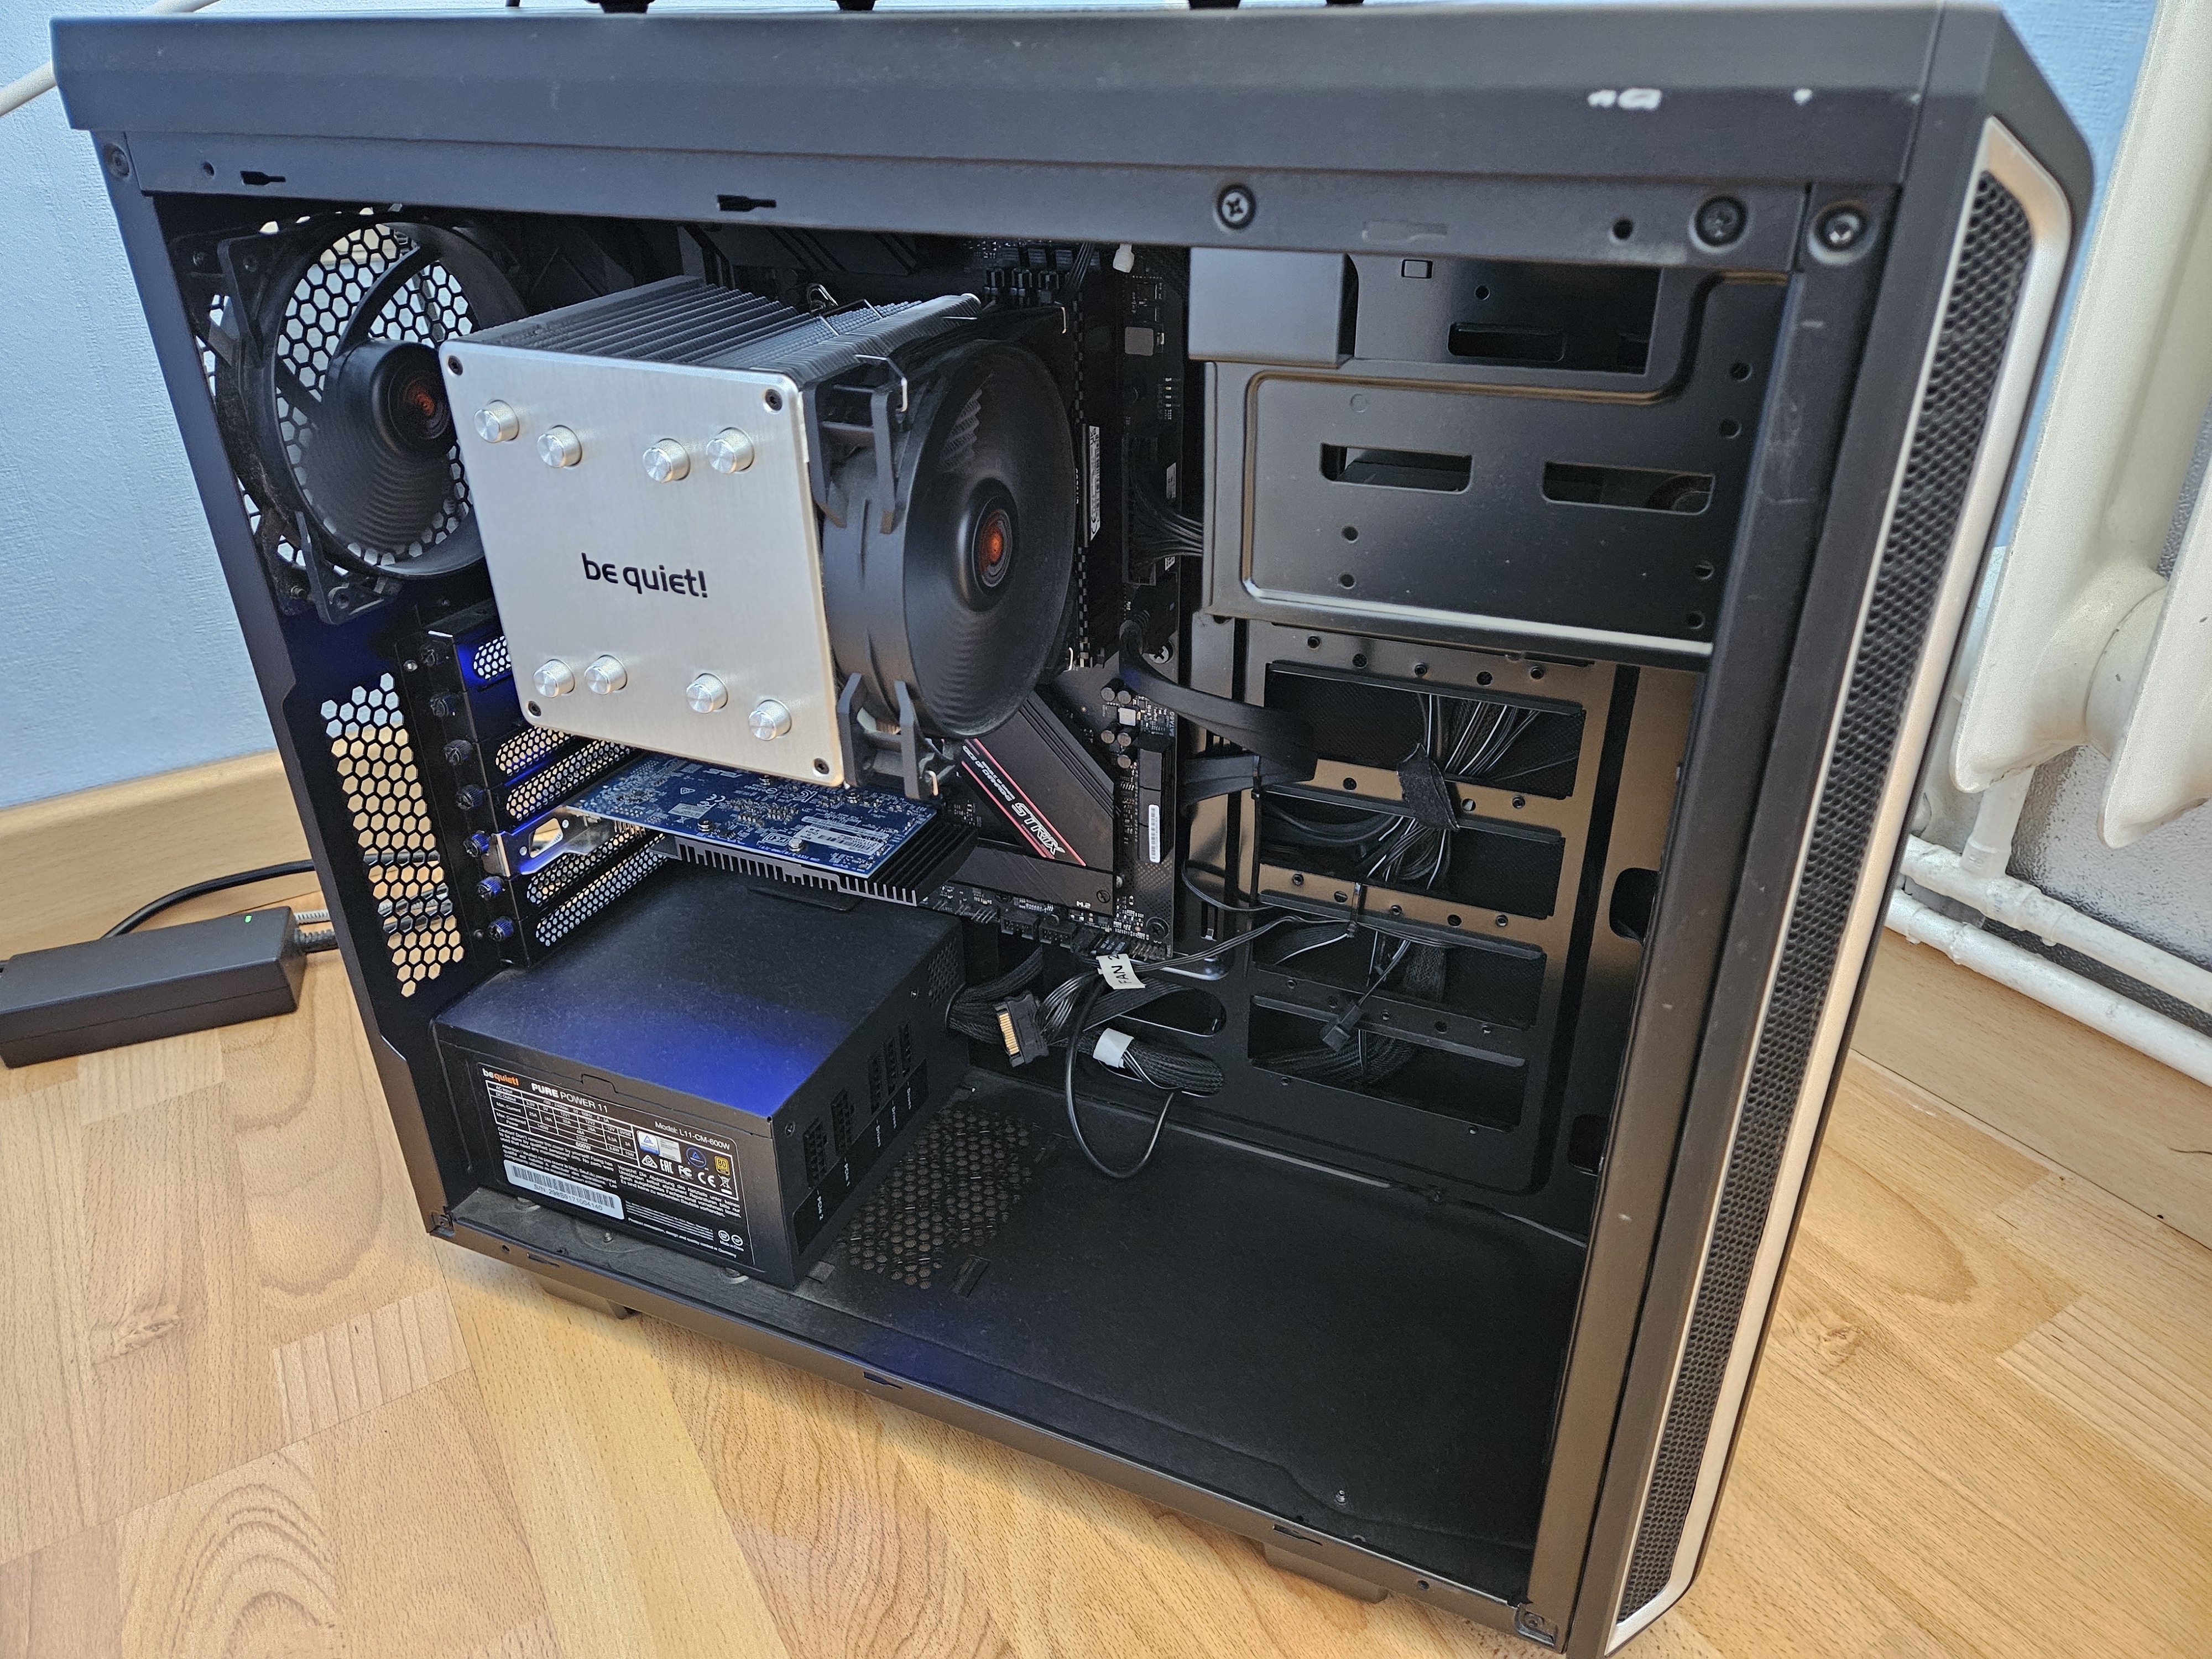
Das Gehäuse hat zwei Lüfter und bietet ausreichend Platz für die Hardware. Die Seitenwände sind isoliert und die Lüfter sind leise, was für den Betrieb in einem Wohnumfeld wichtig ist.
Die Installation von Proxmox VE ist relativ einfach und kann von einem USB-Stick aus durchgeführt werden.
Wichtig ist Anfangs nur das kein Raid konfiguriert ist im Bios.
Diese Anleitung zeigt die Schritte zur Installation von Proxmox VE installiert auf einer NVME und für die VMs ein ZFS Raid 1
>>Im Bios einstellen das vom USB Stick gebootet wird.<<
dd if=proxmox.iso of=/dev/sdX bs=4M status=progressmv /etc/apt/sources.list.d/pve-enterprise.list /etc/apt/sources.list.d/pve-enterprise.list.disabled
echo "deb http://download.proxmox.com/debian/pve buster pve-no-subscription" > /etc/apt/sources.list.d/pve-no-subscription.list
apt update
pveupgradesed -Ezi.bak "s/(Ext.Msg.show\(\{\s+title: gettext\('No valid sub)/void\(\{ \/\/\1/g" /usr/share/javascript/proxmox-widget-toolkit/proxmoxlib.js && systemctl restart pveproxy.service
# Check current swappiness value
    vim /proc/sys/vm/swappiness

    # Swappiness auf 0 setzen, um die Nutzung von SWAP zu deaktivieren
    sysctl vm.swappiness=0

    # Disable SWAP, it'll take some times to clean the SWAP area
    swapoff -a

    # Ensable SWAP
swapon -aapt install zfs-auto-snapshot
# Unter /etc/cron.daily, /etc/cron.weekly und /etc/cron.monthly können die Zeitpunkte der Snapshots angepasst werden.
# Beispiel für die täglichen Snapshots:
# vim /etc/cron.daily/zfs-auto-snapshot
#!/bin/sh
# Only call zfs-auto-snapshot if it's available
which zfs-auto-snapshot > /dev/null || exit 0
exec zfs-auto-snapshot --quiet --syslog --label=daily --keep=3 // ## --keep=3 = 3 Snapshots erstellen, dann erst löschen !